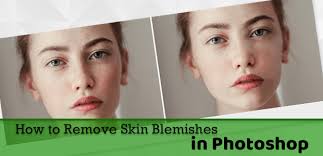
In this article , I will explain with pictures how to perform facial cleansing in Photoshop, which is the most commonly used and curious question .
Face removal in Photoshop
There is no limit to what you can do with Photoshop . The program, which has been presented with a more advanced program since 1987, is of course the leader in its field. When we look at its usage areas, although it is generally used in many professional areas such as Web Design and Advertising , it is also used just as a hobby. In this article, I will explain how to remove unwanted blemishes, pimples and scars on the face, which is our main topic . There is more than one method for this process. However, I will tell you in detail and with pictures how to clean your face in a simple way using a single tool .
So how to delete a pimple in Photoshop? How to remove blemish in Photoshop? What does the Patch Tool do in Photoshop? How to clean face in Photoshop? You can find the answers to all these questions in the rest of our article, where I explain them in detail and with pictures.
How to remove blemishes in Photoshop?
- First, let’s open Photoshop .
- Let’s open the photo you want to edit by following File > Open or by dragging it into the Photoshop program.

- Let’s select Patch Tool from the tools on the left .
- Let’s circle the stain you want to clean with the Patch Tool .
- In this article, we will use the Patch Tool , but you can also perform the same process with the Spot Healing Brush Tool and Healing Brush Tool . You can try each one and see which one gives you better results.

How to remove blemishes in Photoshop?
- Let’s drag the selected area onto a clean texture by holding the left mouse button.
- The most important thing you should pay attention to here is that the tissue to be taken as a sample is both clean and the most suitable for the area you want to clean. So you will need to take a sample from a similar area.
- When you perform the same procedure on all blemishes and pimples on the face, the result will be as in the picture below.


